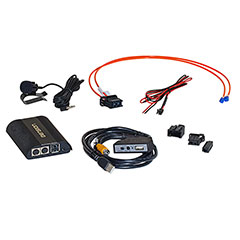
Bluetooth iPod iPhone AUX USB adapter for Audi BMW Mercedes Porsche(Single Fiber Optic Port)
$349.99
Average rating:
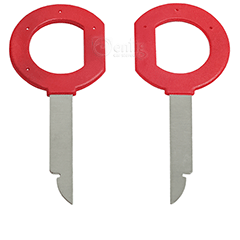
Radio removal keys for Audi & Volkswagen
$4.99 $9.99
Average rating:
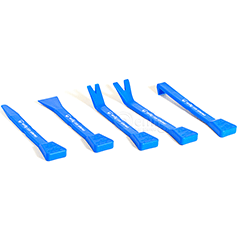
Enfig "Panel Pry Tool" set of five including tools 1 2 3 4 & 5
$19.99
Average rating: